How to Calibrate the Analog Output of Load Cell?
A load cell, also known as a load or force transducer, is a sensor that measures applied forces. Load cells are capable of measuring both tension (force required to pull something) and compression (force required to push something). In order to measure these forces, the sensor creates an electrical output that changes depending on the amount of resistance being applied.
When using the sensor, sometimes we need the standard analog signal of the sensor, so we need a transmitter to convert the mV signal of the load cell into standard industrial signals, such as 0-20mA, 4-20mA, 0-10V, etc. Today we'll introduce load cell transmitter 4~20mA output calibration by using ATO load cell. 0~10V is also calibrated in the same way.
How to calibrate the weight of load cell?
- Set the NO. 16 parameter "16 CAP" as the maximum range of load cell.
- Set "15 dot", the number of decimal places.
- Select "ZERO" to clear and zero point calibration.
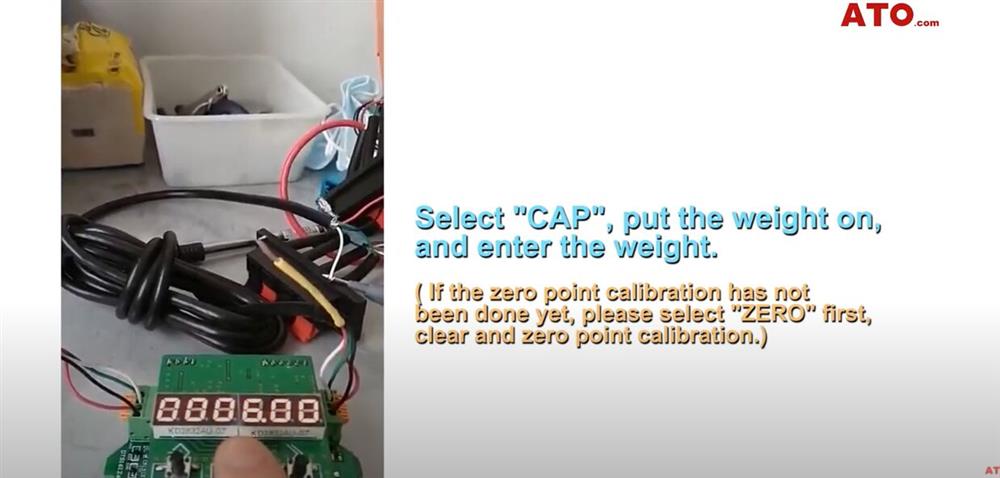
- Select "CAP", put the weight on, and enter the weight.
Steps of calibrating the analog output.
Take the output of 4-20mA as an example.
- Connect the output terminal to the multimeter. Finding A0 and adjusting the value of A0.
- Adjust A0 to make the transmitter output 4mA, and record the value of AO as N. (When the output range is 0-10V, adjusting A0 to make the multimeter display 0V.)
When the multimeter shows that the transmitter outputs 4mA, N=0716. - Adjust A0 to make the transmitter output 20mA, and record the value of A0 as M. (When the output range is 0~10V, adjust A0 to make the multimeter display 10V.)
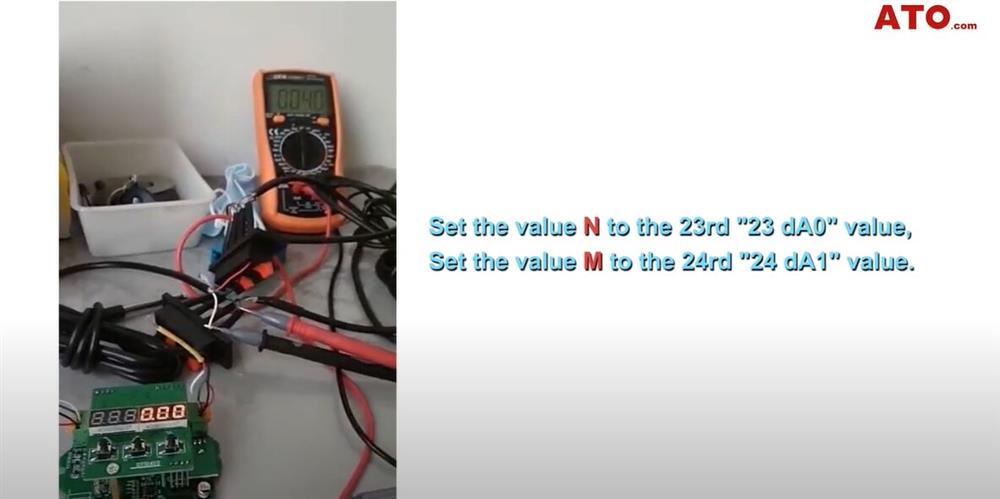
When the multimeter shows that the transmitter outputs 20mA, M=3829 - Set the value N to the 23rd "23 dA0" value; set the value M to the 24rd "24 dA1" value.
23 dA0=0716 (4mA),24dA1=3829 (20mA)
See more details by clicking the video below.
