How to Debug a Flow Meter?
In order to avoid stagnant materials in the pipeline sticking to the instrument and affecting its performance or possibly damaging it, the pipeline should be purged before the instrument is fitted. A magnetic filter should be fitted at the instrument's inlet if it is unavoidable. Prior to installation, it is also required to choose whether the instrument should be put horizontally or vertically. If the meter includes an LCD display, it is crucial to remember that the installation location should be as far away from direct sunlight as is practical to avoid shortening the LCD's service life. Let's follow ATO's example and investigate to learn more information!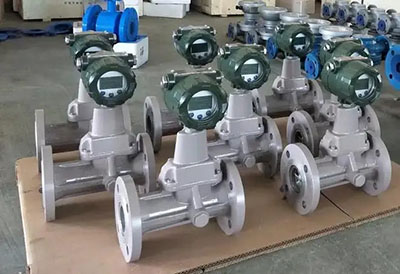
Liquid Debugging
- Pressure-conducting pipe blowing: After installation of the system, all three valves will be closed, and then the root valve and drain valve will be opened to blow the pressure-conducting pipe, the pressure-conducting pipe will be clean, and the drain valve will be closed.
- Differential pressure transmitter for exhaust: The differential pressure transmitter two exhaust screws slowly unscrewed and exhausted until there was water flow, to determine no gas after the exhaust screw tightened. The three-valve group on both sides of the positive and negative pressure valve open, the middle balance valve is still closed.
- The middle balancing valve is opened after the three-valve group positive and negative pressure valves have been closed, allowing the differential pressure transmitter for zeroing to operate (that is, when there is no flow in the system, to ensure that the differential pressure transmitter current is 4mA). The three-valve group's central balancing valve will be closed after correcting the zero point, and the positive and negative pressure valves on both sides will be opened afterwards.
- Verify that the system and the instrument cross-line are operating normally.
Steam Debugging
- Blowing condensation from pressure-conducting pipes: After the system is installed, all three valves are shut off, and the root valve and drain valve are then opened to blow the pressure-conducting pipes. The steam inside the pressure guide pipe is let to condense for around two to three hours before the pressure guide pipe is cleaned and the drain valve is shut.
- In order to confirm that there has been condensate in the conductive tube, the three-valve group's positive and negative pressure valves must be both open, the middle balance valve must remain closed, and the differential pressure transmitter's two exhaust screws must be unscrewed until water begins to flow. This will show whether there was any gas after the exhaust screw was tightened.
- When using a differential pressure transmitter for zeroing, the middle balancing valve is opened after the three-valve group's positive and negative pressure valves have been closed (that is, when there is no flow in the system, to ensure that the differential pressure transmitter for 4mA). After zeroing in, the three-valve group's middle balancing valve will initially be closed, followed by the pressure valve's two sides opening, allowing the steam in the guide tube to continue condensing until the condensate fills the sensor root (three valve group operation, the order of the switch must be noted).
- Verify that the system and each instrument's wires are functioning normally.
Gas Debugging
- Open the root valve, the positive and negative pressure valves of the three-valve group, as well as the differential pressure transmitter located behind the two exhaust knobs. Exhaust, and then shut down.
- Before zeroing the differential pressure transmitter, open the middle balancing valve and close the three-valve group's positive and negative pressure valves (that is, when there is no flow in the system, ensure that the differential pressure transmitter current is 4mA).
- Each instrument's wiring should be examined to ensure there are no problems.
Last but not the least, because the flow meter uses magnetism to send the signal, the installation must be at least 10 cm smaller than the device itself and must forbid the presence of magnetic materials in order to guarantee the instrument's performance. You must additionally select the jacketed kind if the low-temperature medium measurement is involved.
