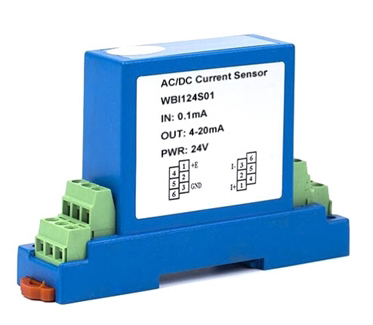
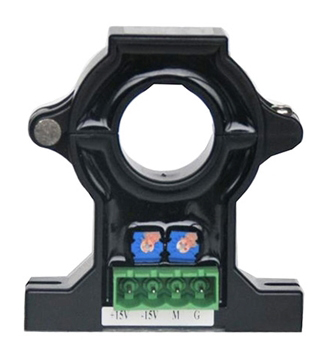
How to Make Current Sensor?
The current sensor is a detection device that can sense the information of the measured current and convert the sensed information into an electrical signal that meets a certain standard or other required form of information output to meet the transmission of information, processing, storage, display, recording and control requirements. As the main components in the control and transmission system, the Hall current sensor plays an important role in the overall stability of the equipment. Hall current sensors are widely used in various industries such as frequency control, battery detection, power supply, servo, welding machine power supply, photovoltaic inverter, wind power inverter, electroplating, locomotive and so on.
The manufacturing process of the current sensor is very complicated and has many operation steps. Now ATO shows you how to make current sensor, so that you can have a better understanding of the current sensor.
1. SMD processing of PCB board
The PCB processing center of the current sensor performs patching uniformly. SMD processing has the advantages of high precision, small error and high efficiency.
2. Welding of other PCB components
After the SMD processing is completed, some components that cannot be completed by the placement machine, such as terminals, potentiometer and other components must be manually soldered. After the welding is completed, the welding personnel will visually check whether there are any missing components or welding errors.
3. Initial assembly of current sensor
The two outgoing wires of the coil are welded to the corresponding positions of the circuit board, then the magnetic core and the circuit board are placed into the shell in turn.
4. Initial debugging
After the assembly of the current sensor, the commissioning personnel will carry out the initial commissioning inspection before pouring the glue. This inspection step is very important, mainly to check whether the product is good. If the inspection finds that the PCB board has soldering errors, or the number of coils is not correct, it can be replaced in time.
5. Pouring glue
After the initial debugging of the current sensor, the automatic gluing machine is used for one-time gluing without any problems. In addition, the current sensor should be put into a high temperature box after filling the gel, which is to make the bubbles inside the gel fully released under high temperature conditions and avoid the quality problems caused by bubbles.
6. Secondary test
When the filling is completed, a second test is carried out before the high and low temperature test. The second test is to run the current from 0 all the way to 1000A and increase it every 50A or 100A.
7. High and low temperature test, aging test
After the product passes the second test, the current sensor needs to pass the high temperature, low temperature, vibration, charging aging, room temperature aging and other tests. The high temperature test needs to be increased to 100 degrees, and the low temperature test needs to be reduced to minus 40 degrees. Vibration tests are generally carried out in accordance with the requirements of customers (the railway, coal mine, vehicles, wind power application industries generally have this requirement).
8. Appearance beautification
After various tests, workers beautify the product and remove gum from the casing and terminals.
9. Delivery inspection
After the product has been beautified, it needs to go through one last inspection. The process is the same as the second test, the current runs from 0 all the way to 1000A, and increase every 50A or 100A. And workers need to observe the waveform diagram and corresponding time diagram of each stage.
10. Marking
After the current sensor has passed various inspections and tests, a laser marking machine is used to mark the current sensor.
11. Packaging
After the marking is completed, the current sensor is packaged. The packaging must be designed with pearl cotton to prevent vibration during transportation, and the inspection report, packing list, and instruction manual should be placed in the current sensor packaging box.
